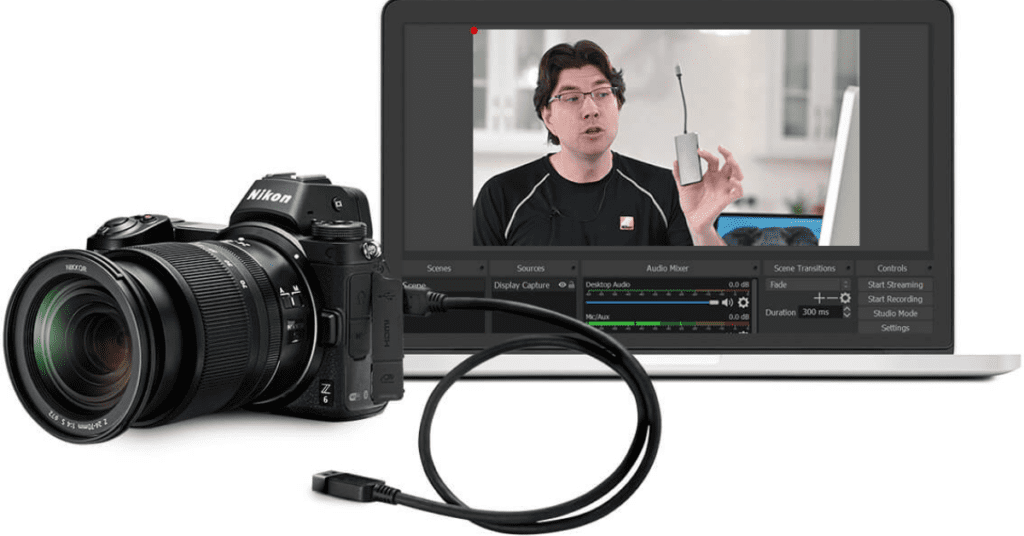
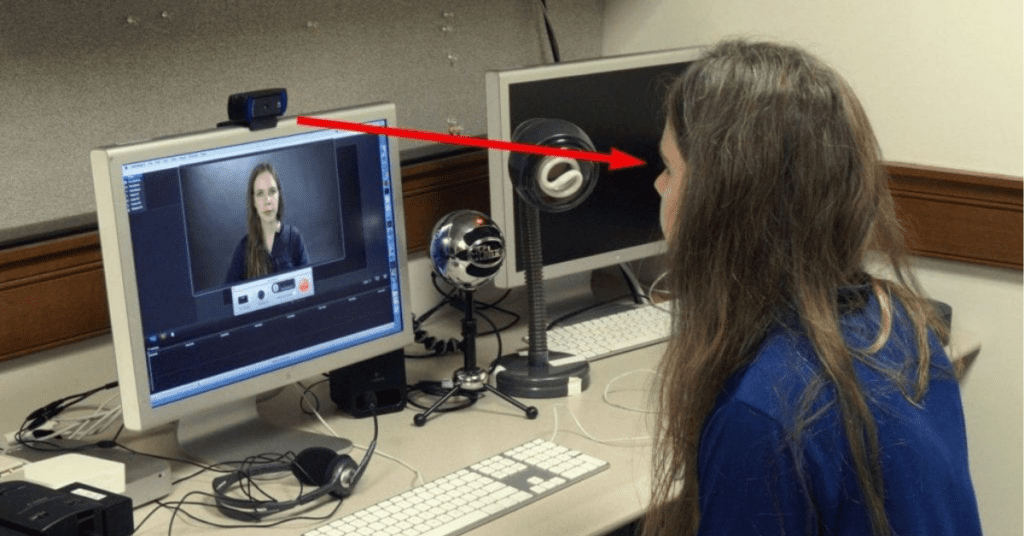
Ever fired up OBS Studio for your stream or recording, only to find your webcam capturing more than you bargained for? Fear not, webcam warriors! Cropping your webcam in OBS is a breeze, allowing you to focus on what truly matters: you and your captivating content.
This guide will equip you with two stellar methods for cropping your webcam in OBS Studio, ensuring your viewers get a perfectly framed close-up or a customized view that complements your scene.
Method 1: The Simple Alt Drag
Sometimes, simplicity reigns supreme. This method is perfect for quick adjustments and those who prefer a hands-on approach. Here’s how to achieve webcam cropping mastery with the Alt drag:
- Launch your OBS Studio and ensure your webcam is added as a source in your scene.
- Click on the webcam source in the preview window to select it. A yellow border will appear around the webcam image.
- Hold down the Alt key on your keyboard. This is the secret sauce for cropping magic!
- With the Alt key held down, click and drag one of the corner squares of the webcam image. As you drag, you’ll see a green outline indicating the cropped area.
- Release the mouse button when you’re happy with the cropped view. Your webcam feed will now be adjusted to showcase your perfectly framed face or desired portion.
Method 2: Filter Finesse with Crop/Pad
This method offers more precise control over your webcam crop, ideal for achieving specific dimensions or intricate framing. Here’s how to unleash your inner cropping virtuoso with the Crop/Pad filter:
- Right-click on your webcam source in the preview window.
- Navigate to Filters in the right-click menu.
- In the Filters window, click the plus (+) icon under the Effects Filters section.
- From the list of filters, choose Crop/Pad.
- A new filter named “Crop” will appear under the Effects Filters list. Click on it to open its properties.
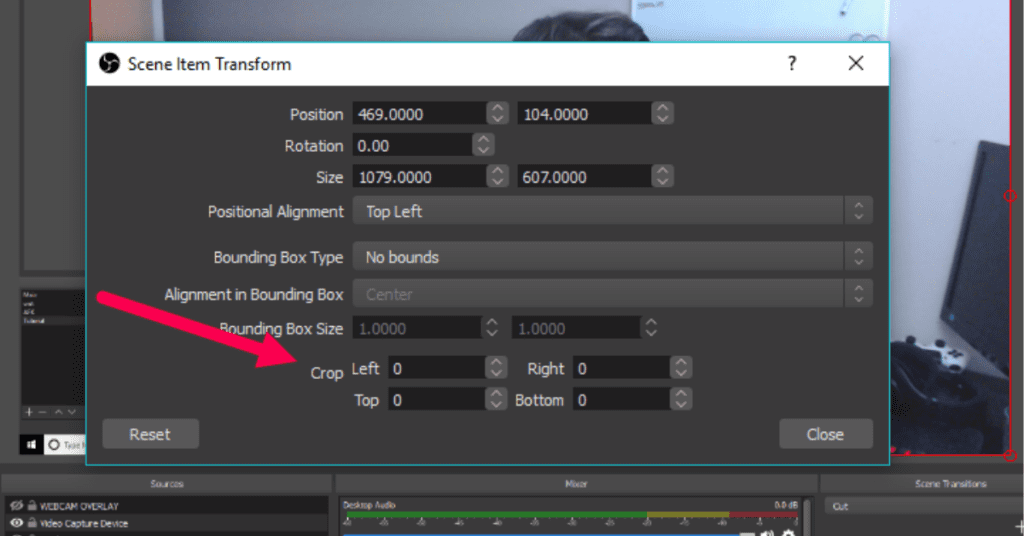
- Under the Crop section, you’ll find options for Left, Top, Right, and Bottom. These values determine how much you want to crop from each side of the webcam image.
- Enter specific pixel values in each box to crop precisely. Alternatively, you can use the arrows next to each box for incremental adjustments.
- Click OK to apply the crop filter.
Bonus Tip: Maintaining Aspect Ratio
While cropping freely gives you flexibility, maintaining your webcam’s original aspect ratio ensures a clean, professional look. Here’s a quick trick:
- When using the Alt drag method, hold down Shift along with Alt while dragging the corner squares. This will constrain the proportions, preventing unintentional stretching or squishing of your webcam image.
- For the Crop/Pad filter method, you can calculate the aspect ratio of your webcam source (usually 16:9) and ensure the crop values maintain that ratio.
Framing for Success
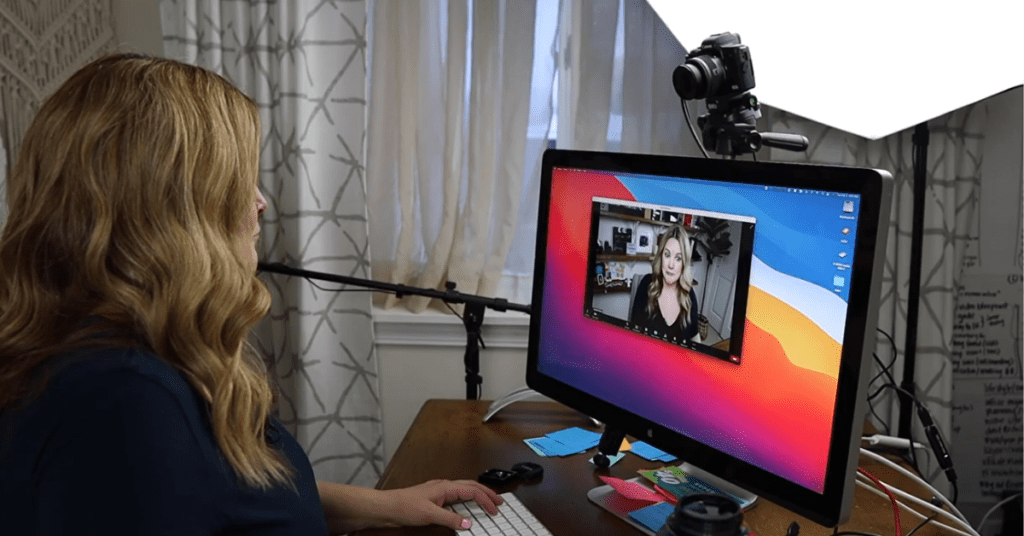
Now that you’ve conquered webcam cropping in OBS Studio, here are some additional considerations for an impactful on-screen presence:
- Center yourself: Aim for a balanced composition where your head and shoulders are centered within the frame.
- Mind the background: Choose a clean, clutter-free background that complements your content.
- Lighting is key: Proper lighting ensures you’re well-illuminated and avoids harsh shadows.
With these tips and your newfound cropping prowess, you’re well on your way to captivating your audience with a perfectly framed webcam feed in OBS Studio. So fire up your stream, unleash your charisma, and take center stage!


