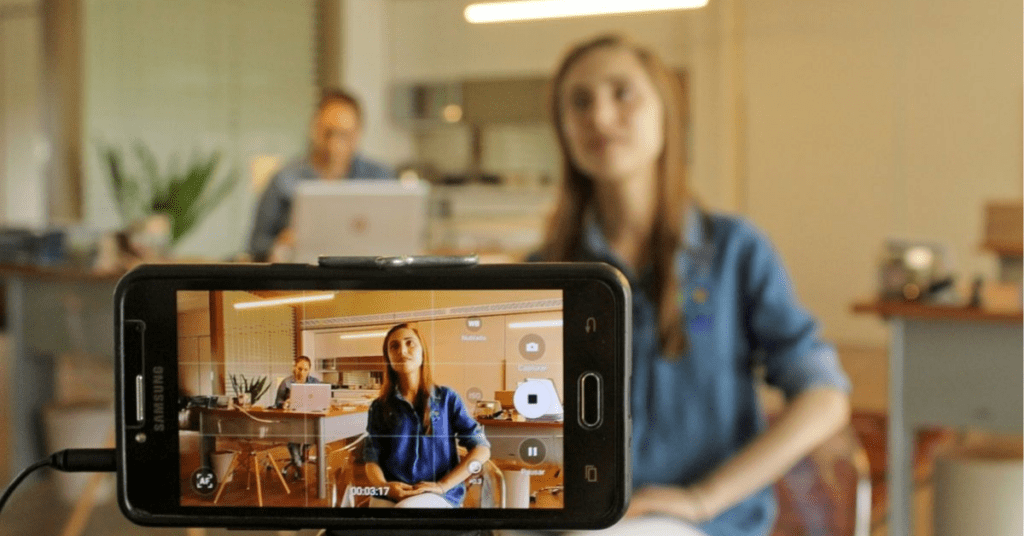
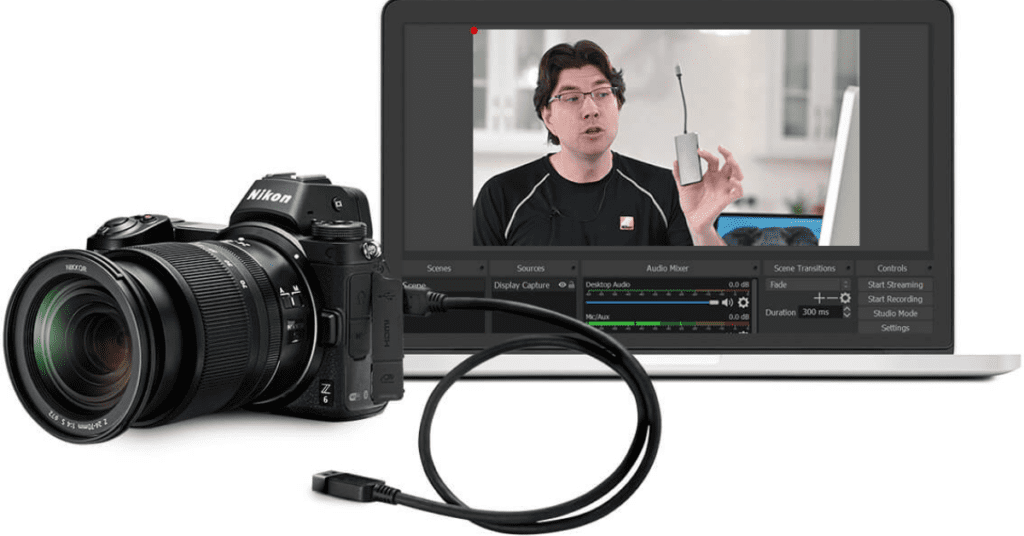
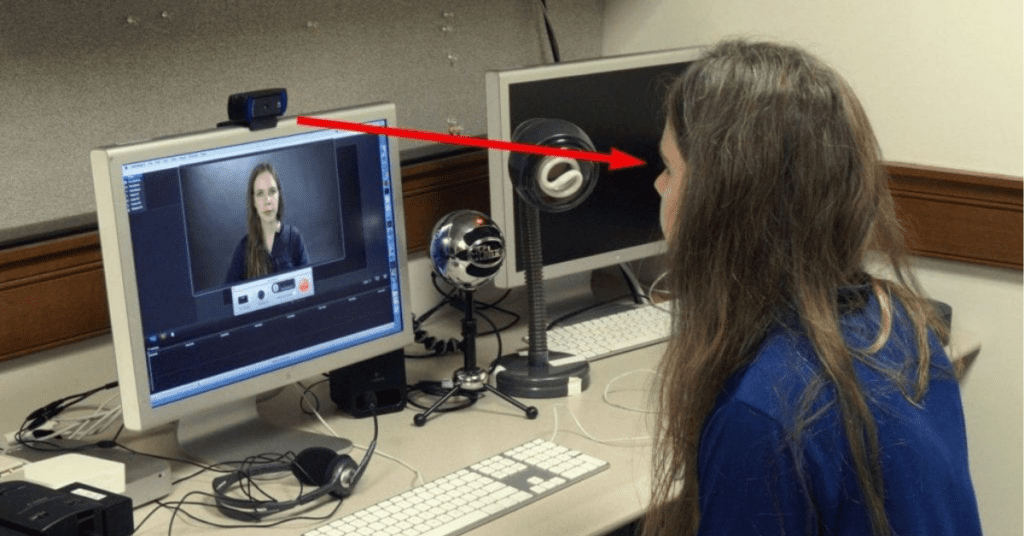
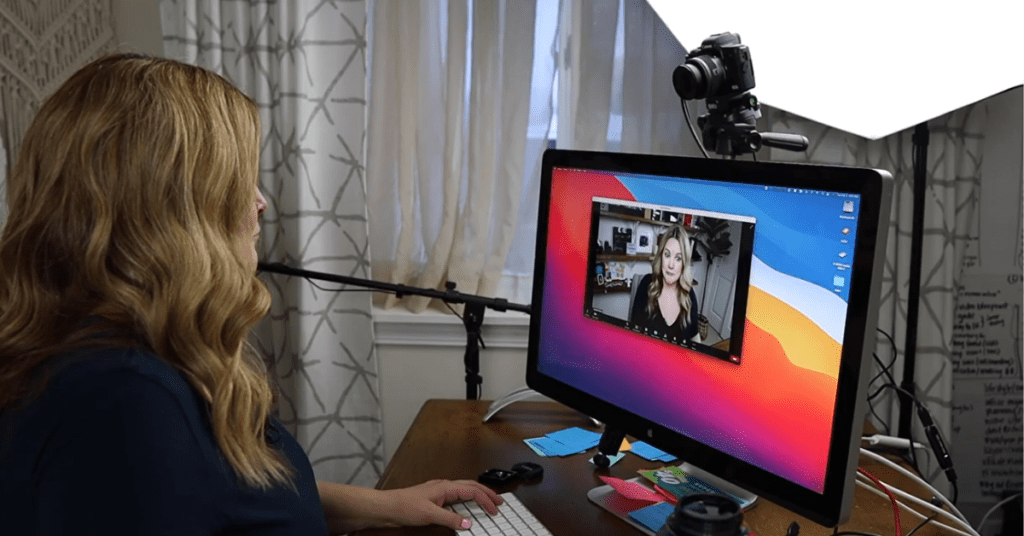
Ever wished your laptop’s webcam had the same amazing quality as your phone’s camera? Well, guess what? You can ditch the grainy visuals and elevate your video calls by using your Android phone as a webcam! This article will guide you through two methods, one using just a USB cable and another using handy apps.
Why Use Your Phone as a Webcam?
There are several advantages to using your phone’s camera instead of your laptop’s built-in webcam:
- Superior Quality: Modern smartphones boast high-resolution cameras that capture sharper images and more vibrant colors, making you look your best during video calls.
- Wider Field of View: Many phone cameras have wider-angle lenses, allowing you to include more in the frame, perfect for presentations or showing off your surroundings.
- Low-Light Prowess: Phone cameras excel in low-light conditions, so no more shadowy video calls even after dark.
- Creative Freedom: With various camera modes like portrait and macro, your phone unlocks creative possibilities for your video calls.
Method 1: USB Webcam Mode (Android 14 and above)
This method is the simplest, taking advantage of a new feature in Android 14. Here’s how to use it:
1. Connect Your Phone:
- Grab a USB cable and connect your Android phone to your computer.
2. Allow Webcam Access:
- On your phone, a notification will pop up asking how you want to use the USB connection. Select “Use USB for” and then choose “Webcam.”
3. Voila! You’re Connected!
Your phone’s camera should now be recognized as a webcam by your computer. Open any video conferencing app like Zoom or Google Meet, and select your phone camera from the settings menu.
Method 2: Using Third-Party Apps (All Android Versions)
This method works for all Android versions and requires installing an app on both your phone and computer. Here’s a popular option:
1. Download DroidCam:
- Head to the Google Play Store on your phone and download the free app “DroidCam – Webcam for PC.”
- Download and install the corresponding client software for your computer from the DroidCam website (https://www.dev47apps.com/).
2. Connect and Launch:
- Open the DroidCam app on your phone and make note of the IP address displayed at the top.
- On your computer, launch the DroidCam client software and enter your phone’s IP address in the “Device IP” field.
- Click “Start” in the client software.
3. Select Camera and Audio (Optional):
- In the DroidCam app on your phone, you can choose between the front-facing and rear-facing camera.
- The client software allows you to enable audio capture if you want your phone’s microphone to be used during calls.
4. Select Webcam Source in Video Calling App:
- Open your video conferencing application and navigate to the settings menu for selecting your webcam.
- Choose “DroidCam Source” or a similar option depending on the app.
Bonus Tip: Enhance Your Phone Webcam Experience
- Lighting is Key: Good lighting makes a world of difference. If possible, position yourself facing a natural light source or use a desk lamp for a brighter and more flattering look.
- Find Your Perfect Angle: Experiment with different phone positions to achieve the most flattering angle. A phone stand can be a helpful tool for hands-free video calls.
- Mute Background Noise: If you’re in a noisy environment, consider using your phone’s built-in noise cancellation feature or using a noise-cancelling headset for clearer audio.
By following these steps, you can transform your Android phone into a powerful webcam, taking your video calls to a whole new level!


