Howdy, partners! In this digital age, video conferencing has become the new frontier town. But you might not be rustlin’ up the best image quality with your standard webcam. Well, fear not, buckaroos! Did you know your trusty Canon PowerShot can wrangle superior video for your online meetings and streams? That’s right, with a little know-how, you can transform your PowerShot into a rootin’ tootin’ webcam.
This guide will walk you through the steps, from gatherin’ your supplies to wranglin’ the settings on your computer and camera. So saddle up and get ready to take your video conferencing to a whole new level!
Must-Haves for the Trail:
- Your Canon PowerShot: This is your trusty steed, ready to provide stunning visuals.
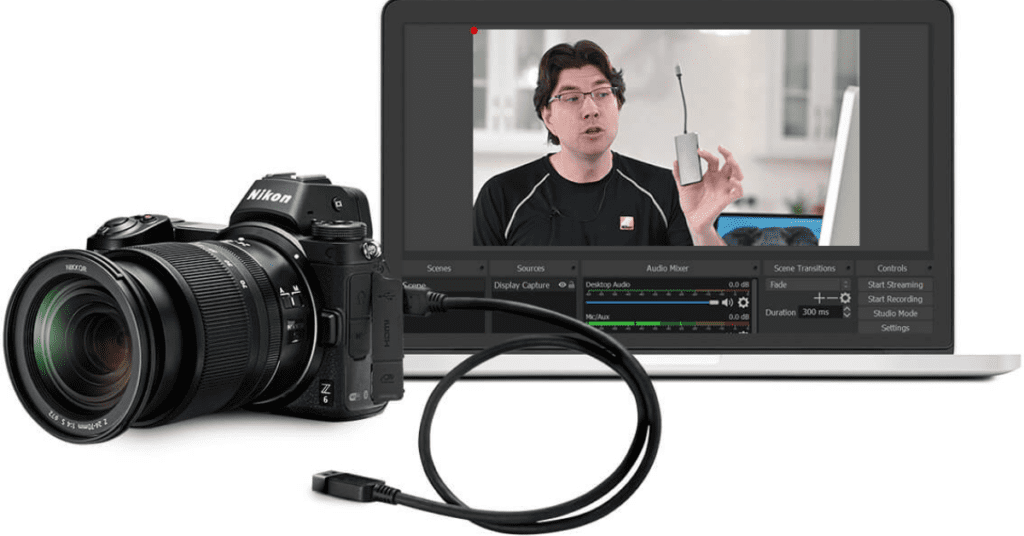
- A USB cable: This will be your connection to the digital saloon (your computer). Make sure it’s the cable that came with your camera for the best connection.
- EOS Webcam Utility Software: This free software from Canon acts as the translator between your camera and your computer. Download it from Canon’s website (https://www.usa.canon.com/cameras/eos-webcam-utility).
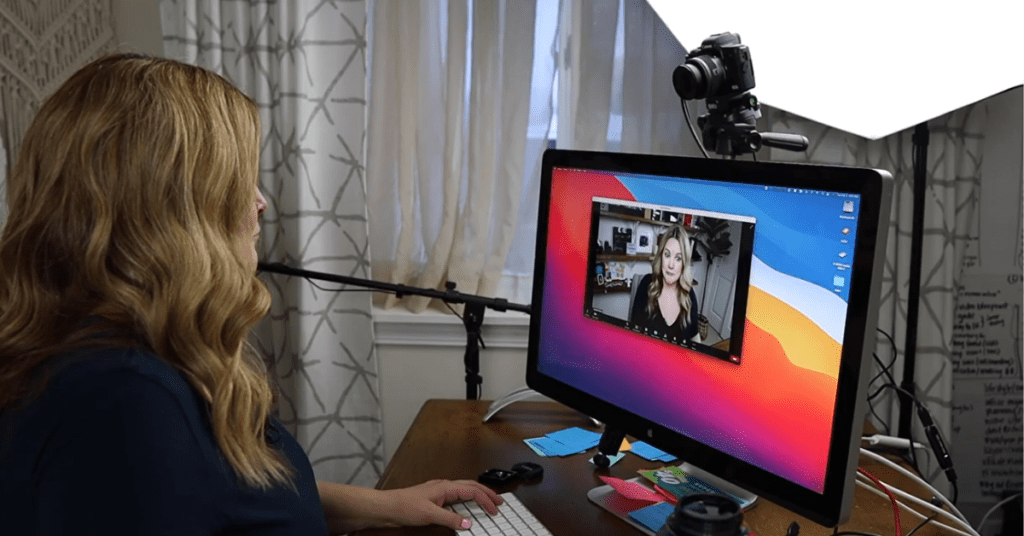
- A tripod (optional): A stable mount for your camera, especially helpful for video calls.
Settin’ Up Your PowerShot:
Power Up: Make sure your PowerShot is fully charged or plugged into a wall outlet using an AC adapter. You don’t want your video stream to die out mid-presentation!
Menu Maneuvers: Check your camera’s manual (or a quick online search) to find the setting for video output. You’ll typically find this under settings related to USB connection. Change it to a mode compatible with computers, such as “webcam mode” or “PTP.”
Wranglin’ the Software:
Download Dodge: Head on over to Canon’s website and download the EOS Webcam Utility Software. Make sure you get the version compatible with your operating system (Windows or Mac).
Installation: Follow the on-screen instructions to install the software. It’s usually a straightforward process, but refer to the Canon website for help if needed.
Connect Your Camera: With the software installed, plug your PowerShot into your computer using the USB cable.
Taming the Settings:
Software Showdown: Launch the EOS Webcam Utility software. It should automatically detect your Canon PowerShot.
Resolution Revolution: In the software’s settings, you can adjust the resolution and frame rate of your video output. For most video conferencing applications, 1080p resolution at 30 frames per second (FPS) is a good starting point. Experiment to see what works best for your internet connection and desired quality.
Showtime, Partner!
Application Wrangler: Now it’s time to mosey on over to your video conferencing application (Zoom, Microsoft Teams, etc.). Head over to the settings menu for video input and select “EOS Webcam Utility” as your camera source.
Test Run: Most applications have a way to test your video before joining a call. Use this feature to ensure your PowerShot is working properly and that you’re happy with the image quality.
Bonus Tips:
Light Up Your Life: Good lighting is key to a high-quality video stream. If possible, position yourself near a natural light source like a window.
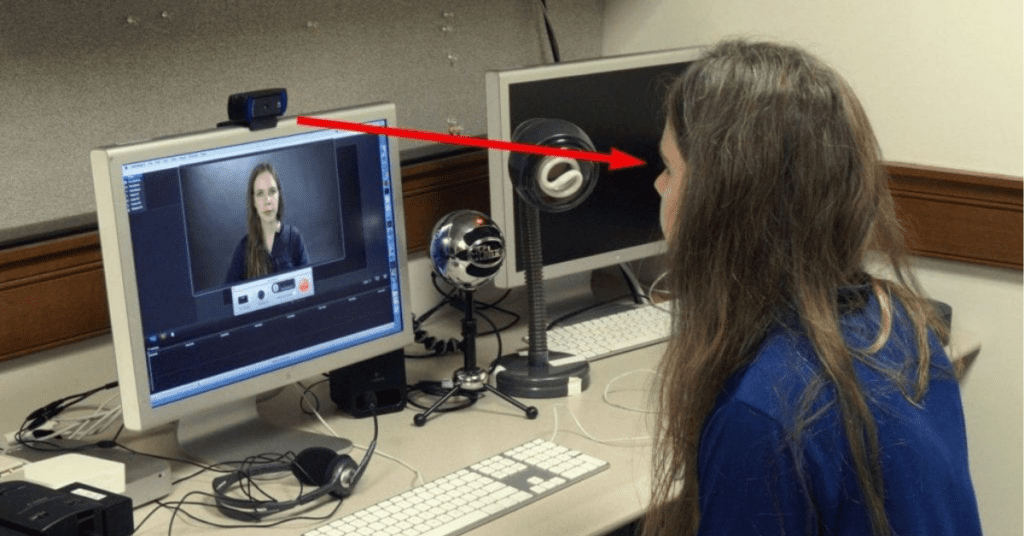
Audio Ambush: While the EOS Webcam Utility provides video, it typically doesn’t capture audio. You can use your computer’s microphone, or for superior sound quality, consider an external microphone.
Power Play: Using your camera for extended periods can drain the battery. To avoid any shorthanded situations during a call, consider using a wall adapter to keep your PowerShot juiced up.
That’s how you lasso a better video experience, partner! With your Canon PowerShot as your webcam, you’ll be sure to make a grand impression on your next video call. Now, gitty-up and go show off those superior visuals!


