Want to ditch the grainy webcam picture and impress everyone in your next video conference? Look no further than your trusty DSLR camera! Using a DSLR as a webcam unlocks a world of improved video quality, sharper focus, and even creative control over your online presence. Whether you’re a business professional on Zoom calls, a streamer looking to up your production value, or just someone who wants to look their absolute best on camera, this guide will show you exactly how to transform your DSLR into a powerful webcam.
Here’s what you’ll need:
- Your DSLR camera: Any DSLR camera will work, but newer models might have a slight advantage with features like dedicated webcam software or USB-C connectivity.
- A USB cable: The standard cable that came with your camera will do just fine.
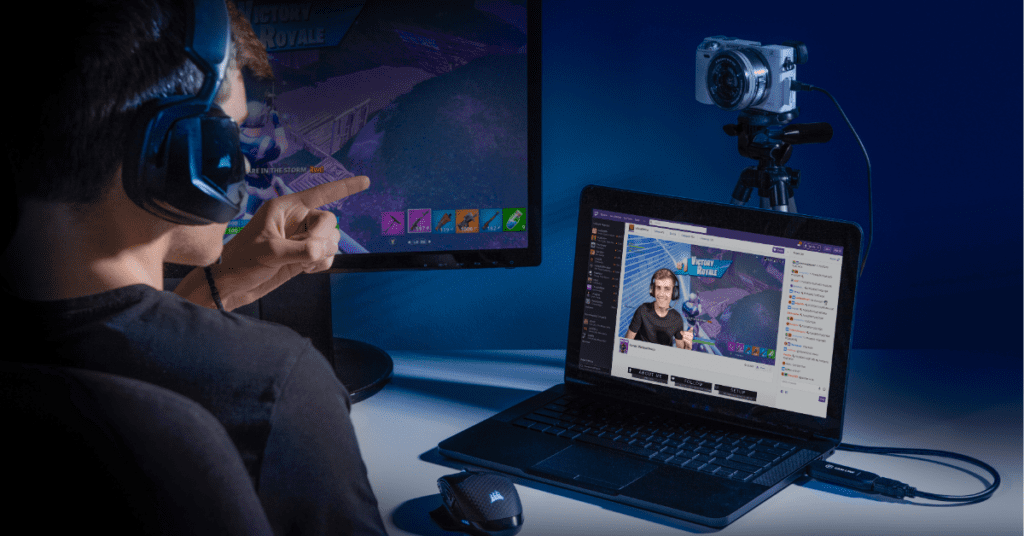
- Optional: Capture card: If your camera doesn’t have built-in webcam functionality or you want more control over the video output, a capture card is a worthwhile investment. Capture cards act as an intermediary device, taking the HDMI signal from your camera and converting it into a USB signal recognizable by your computer.
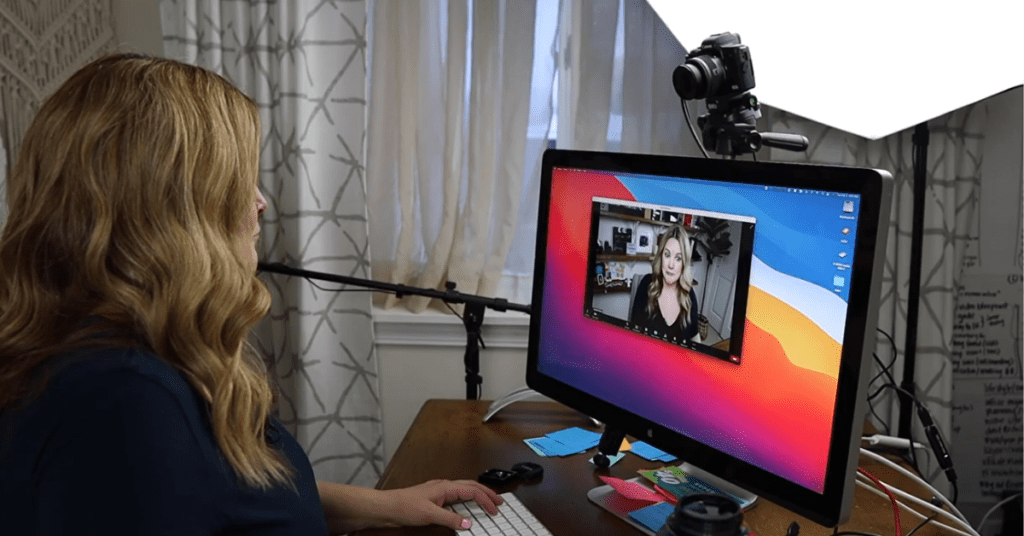
- Tripod: Not essential, but highly recommended for keeping your camera stable during video calls.
- External microphone (optional): Most DSLRs have built-in microphones, but for professional audio quality, an external microphone can significantly improve your sound.
Method 1: Using DSLR Webcam Software (for compatible cameras)
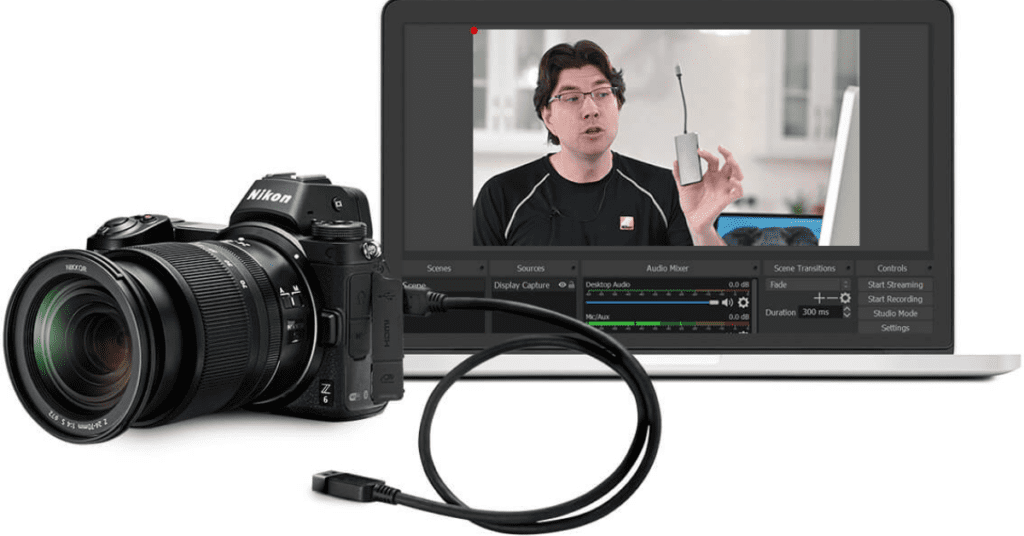
The simplest method applies to newer DSLR models from brands like Canon and Sony. These manufacturers are starting to offer dedicated webcam software that allows you to connect your camera directly to your computer via USB and use it as a webcam.
- Check compatibility: Head over to your camera manufacturer’s website to see if they offer webcam software compatible with your specific model.
- Download and install the software: Follow the manufacturer’s instructions for downloading and installing the webcam software on your computer.
- Connect your camera: With the software running, connect your DSLR to your computer using a USB cable.
- Select your camera in video conferencing apps: Open your preferred video conferencing application (Zoom, Google Meet, etc.) and navigate to the settings menu. In the video input options, select your DSLR camera as the new video source.
Method 2: Using a Capture Card (for wider compatibility)
If your camera doesn’t have dedicated webcam software, or you want more control over the video output, a capture card is the way to go. Here’s how to use it:
- Choose a capture card: There are many capture cards available, so do your research to find one compatible with your computer and budget. Popular options include the Elgato HD60 series or the AVerMedia Live Gamer Portable.
- Connect the capture card: Following the capture card’s instructions, connect it to your computer’s USB port and your DSLR camera via an HDMI cable.
- Install capture card software (if needed): Some capture cards require additional software to function. Download and install any necessary software according to the manufacturer’s instructions.
- Select the capture card as your video source: Open your video conferencing application’s settings and choose the capture card as the new video input.
Pro Tips for DSLR Webcam Success:
- Clean HDMI output: If you’re using a capture card, ensure your camera has a “clean HDMI” output option. This removes any on-screen information like battery level or recording time that would otherwise be displayed in your video feed.
- Power source: DSLRs typically run on battery power, which can be unreliable for long video calls. To avoid unexpected shutdowns, connect your camera to a power outlet using an AC adapter.
- Lighting is key: Good lighting is crucial for high-quality video. Invest in a softbox or ring light to illuminate your face evenly and reduce shadows.
- Software settings: Experiment with your camera’s settings to achieve the desired look. You can adjust aperture, shutter speed, and ISO to control brightness, depth of field, and overall image quality.
- Audio matters: For professional audio quality, consider using an external microphone plugged directly into your camera’s microphone jack.
By following these steps and tips, you’ll be well on your way to transforming your DSLR camera into a powerful webcam and taking your video conferencing experience to the next level. Remember, with a little practice and experimentation, you can create a stunning and professional video presence that will leave a lasting impression.


